Friday, September 30, 2016

Project Life App: Spring Break Antigua

I'm back to share a few more pages from our 2015 Spring Break trip that I made with the Project Life App.  Today's stop is Antigua!!    If you haven't tried the PL App... download it!  It's a blast & the pages come out great.  


Have a great weekend! 

Tuesday, September 27, 2016

Gina K & Spectrum Aqua Tutorial

Hi There Friends!  Today I have a new Gina K tutorial using the Fine Feathers stamp set and Spectrum Aqua Markers.  


Step 1: Select a color palette from the Spectrum Aqua Markers ~ Scarlet, Sunset, Orange (not shown here), Olive, and Tan.


Step 2: Begin at the top of the feather and add Scarlet ink directly from the marker to the stamp.


Step 3: Next add Sunset from the marker to the stamp and then add Orange.  Carefully blend each color just a little bit with the previous color that was added.


Step 4: Next add Olive ink to the stamp, slightly blending with the orange.  TIP: Before you replace the cap to the marker, scribble your marker on scratch paper to remove any other colored ink on the tip.


Step 5: Add Tan ink from the marker to the stamp.


Step 6: Spray a piece of precut watercolor paper and stamp the image.


Here's a close up of the stamped image.


Wasn't that easy peasy??  Just use water based markers for this technique... don't use alcohol ink markers because they won't stamp on your paper and will just stain your stamps ~ they dry too quickly.

Thursday, September 22, 2016

TE Birthday Banners

Hi Friends!  This month the Taylored Expressions designers are having fun with the numerous birthday themed products in the TE store as we continue celebrating Taylored Expressions 8th Birthday!


I used the fun Skinny Mini Party Borders dies along with the Presents Cutting Plate for my festive card.  For some texture behind the image, I added an embossed layer using the Sprinkles Embossing Folder.  {links below for all products used}


The sentiment on the front of my card and inside are both from the stamp set called Another Year Older.


Thanks for stopping by today!


Supplies:

Tuesday, September 20, 2016

Happy Birthday Shaker!

Hi Friends!  Today I have a sweet little shaker card using the adorable Bella Elephant stamp set from Gina K Designs.   I also used the ice cream cone from the 
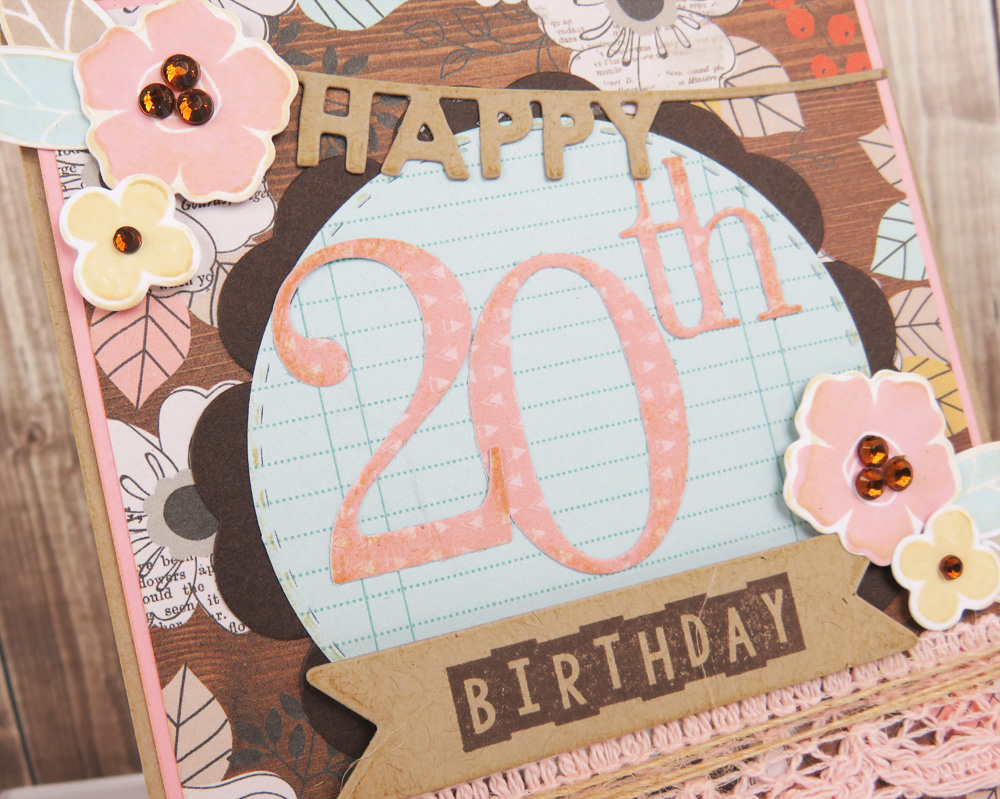
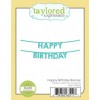
So Cool set and the "Happy Birthday" sentiment from the latest incentive set called More Massive Messages (which is free with a $75 order).

I also have a coloring tutorial using the fabulous Zig Clean Color Real Brush Markers.  Scroll on down to see how I colored this sweet little guy.


Step 1: Stamp the elephant image using black pigment ink and heat emboss with clear embossing powder on watercolor paper.  Note: For this card, I wanted to do this so I could contain my watercolors within certain areas so they wouldn't spread.

Step 2: Using the Pale Pink marker, I added color to the inside areas of each ear.


Step 3: Add Cool Gray 1 to the entire elephant. Note: I did not go over the pale pink.


Step 4: Add Light Gray to the left edges of the elephant and areas needing more shading.


Step 5: Using a waterbrush, gently blend the darker gray into the light gray.


Step 6:  Continue blending and add more color from the marker if needed.  Note:My photo below is shiny because of the water from my brush.  It didn't dry that way.


Step 7: Continue to use the waterbrush to blend the grays and add more color from the marker if needed or dab off color with a paper towel if too much color is added.  Note:  Watercoloring is very forgiving and can easily be corrected with the markers or some extra water... even after it dries.  Just keep playing with it until you achieve the desired results.

Step 8: Trim the elephant using scissors and add to the card.


Here is my sweet little guy and a fun little ice cream cone that I colored and popped on top of him.


Thanks for stopping by today!

Monday, September 12, 2016

TE Numbers Going Shabby Chic!

Hi Friends!   This month, the Taylored Expressions designers are playing with lots of alphabet and number stamps and dies.  Today I am sharing a card that I made using the Just a Number die set.  I love using these dies to personalize a birthday card, title a scrapbook page or add a special date on a gift bag... the possibilities are endless!


On my pretty little shabby chic card today, I added the "Happy" from the Happy Birthday Banner die set and the "Birthday" from the Little Bits of Birthday stamp set.  It's so fun mixing and matching stamps and dies to add a special sentiment to a card.

I also stamped flowers on my card using the Fresh Florals & Fall Florals stamp and die sets.  These two sets work beautifully together. {links below}


Thanks for popping in today!


Supplies:


Blog Widget by LinkWithin
 
Blogger Template By Designer Blogs